How To Burn A DVD
You can burn a dvd with video editing software like VideoStudio. Follow along with our tutorial below to learn the easiest way to burn a dvd. Online platforms like YouTube and Vimeo are the modern home of videos and filmmaking on the internet. But there are plenty of reasons to want to burn a DVD - the home disc platform isn’t dead yet, and you won’t have to worry about buffering. When you have created a film in VideoStudio, it’s a straightforward process of burning the film to a DVD directly from the software. Just follow the steps below to get your content onto disc and make the most of physical home formats.
-
Install VideoStudio
To install VideoStudio video editing software on your PC, download and run the installation file above. Continue following on-screen instructions to complete the setup process.
-
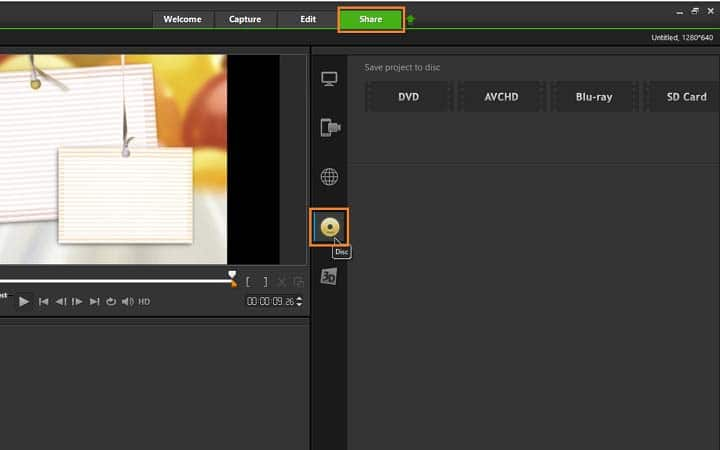
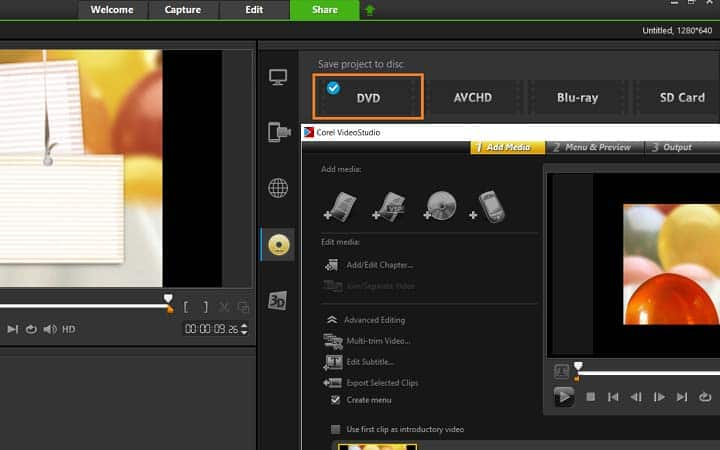
Select burn DVD
To burn to DVD, select DVD. a new window will pop-up and your media on your timeline will automatically be added. You can add additional media to your disc project, control settings and add chapters here.

-
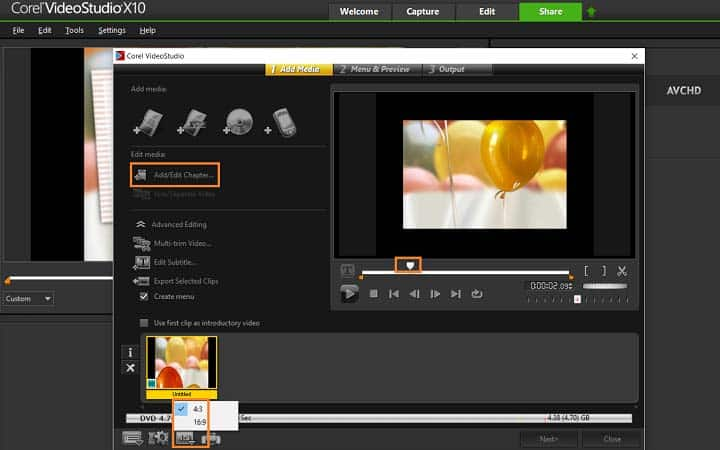
Identify chapter points
To add chapters to your video, play your video or use the scrubber to navigate through your video and with your scrubber in place, select Add/Edit Chapter. Along the bottom of this dialog, you can access the settings panel and control the format of your video, 16:9 or 4:3.

-
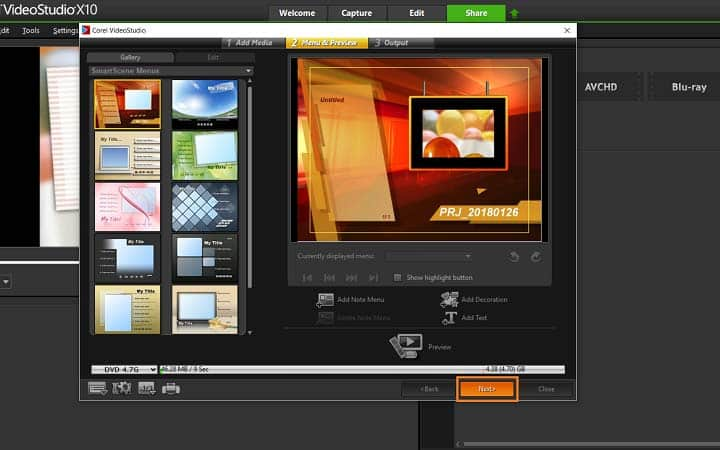
Preview your video chapters
When your video is set up, press Next, where you are prompted to select a menu and preview your video.

-
Begin burning video
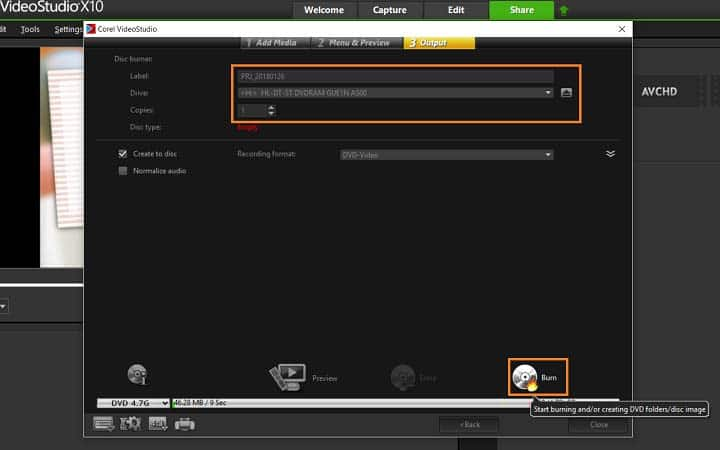
On step 3 of the video creation, it’s time to burn your video to disc. Name your video file, select the drive and number of copies. Upon inserting the disc in your disc drive, you can press burn to begin.
*Blu-ray plug-in required, available at additional purchase.

